Latest Comments


::Tutorial:: Display Wall
Tools & Materials Needed: ::6:: 1″x2″ 6′ Boards/Planks (~$17) ::12:: 1″x2″[…]

Polar Vortex
Capitalizing on winter by making this sweeeet Pinterest/Cold-inspired color palette. “Frigid[…]

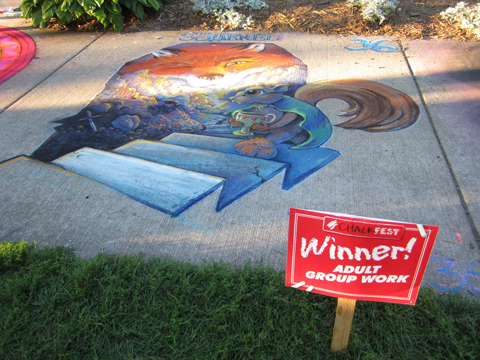
Chalkfest 2013 – The Squirrel II
We combined our initial sketches into Photoshop to play around with[…]